Skip to Main Content
Mobile Menu Trigger
Submit
Mobile Search Trigger
Home
About
Me in a Nutshell
Contact
Recipes
Savory
Appetizers & Snacks
Main Meals
Sides
Soups & Stews
Spices, Sauces, & Condiments
Sweet
Bars & Brownies
Breads & Doughs
Cakes
Cookies
Donuts
Frozen & Puddings
Jams & Sauces
Pies & Galettes
Drinks
Breakfast & Brunch
All Recipes
Recipe Index
Get Togethers
Submit
Home
About
Me in a Nutshell
Contact
Recipes
Savory
Appetizers & Snacks
Main Meals
Sides
Soups & Stews
Spices, Sauces, & Condiments
Sweet
Bars & Brownies
Breads & Doughs
Cakes
Cookies
Donuts
Frozen & Puddings
Jams & Sauces
Pies & Galettes
Drinks
Breakfast & Brunch
All Recipes
Recipe Index
Get Togethers
Home
»
Recipes
»
Page 2
Recipes
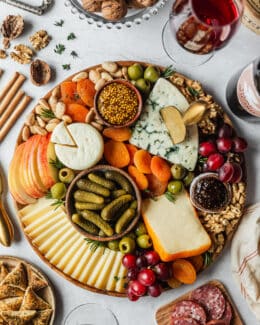
An Effortless French Cheese Board
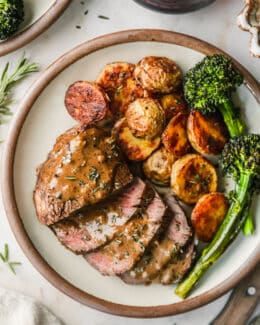
Reverse Sear Filet Mignon with Peppercorn Sauce
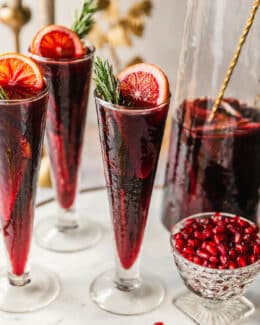
Winter Sangria with Pears & Pomegranate
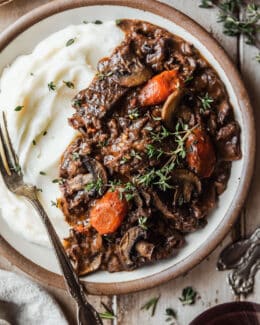
The Best Short Rib Beef Bourguignon
French 77 Cocktail with Gin
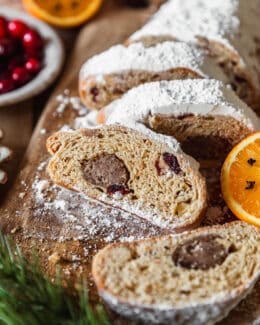
The Best Cranberry Apple Stollen
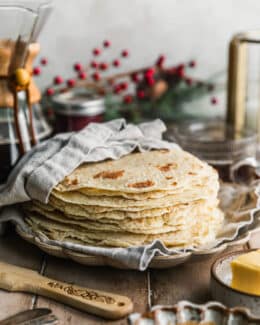
Norwegian Potato Lefse
Cozy Coffee Hot Buttered Rum
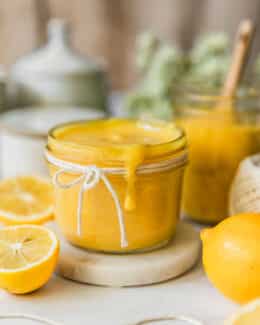
Easy Meyer Lemon Curd
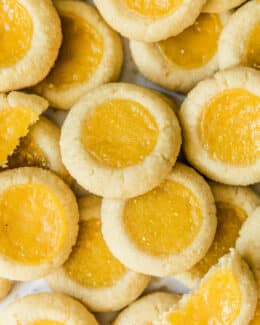
The Best Lemon Curd Cookies
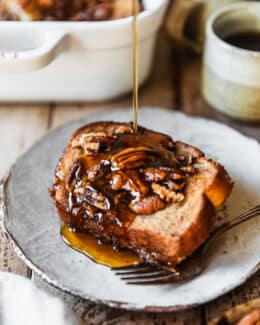
Brioche French Toast Casserole with Pecans
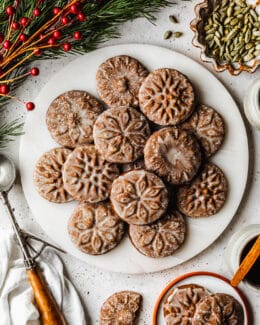
Cardamom Gingerbread Cookies with Orange Glaze
Spice Bundt Cake with Brown Butter Icing
Fudgy Mocha Crinkle Cookies
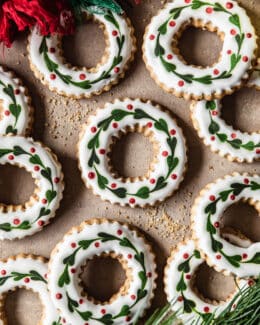
The Best Cookies for a Cookie Exchange Party
Chewy Molasses Crinkle Cookies
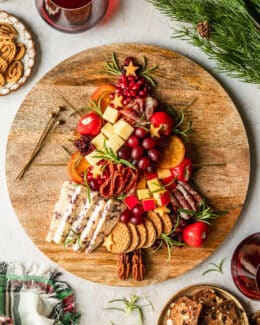
A Festive Christmas Tree Charcuterie Board
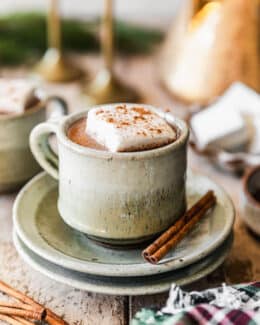
Creamy Cinnamon Hot Chocolate
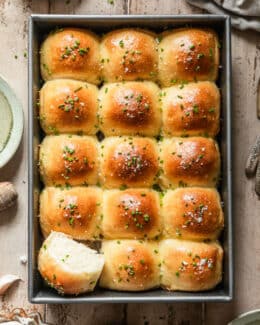
Garlic Butter Dinner Rolls | Soft & Fluffy!
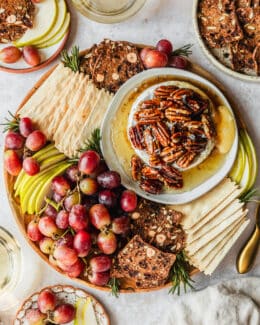
Honey Baked Camembert with Pecans
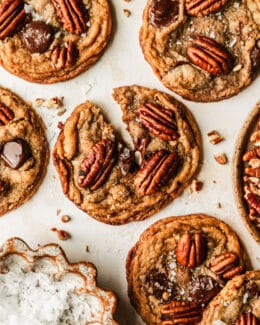
Pecan Chocolate Chip Cookies with Brown Butter
Freezer Door Martini with Lemon Bitters
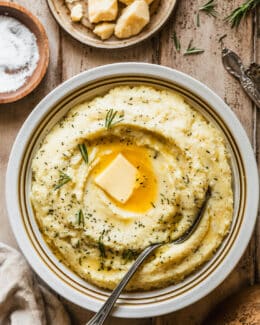
The Best Cheesy Garlic Mashed Potatoes
Ginger Old Fashioned
More Posts:
« Previous
1
2
3
4
5
6
7
…
10
Next »