The Best Damn Pie Crust of Your Life
This post might have affiliate links. For full details please see my disclosure policy.
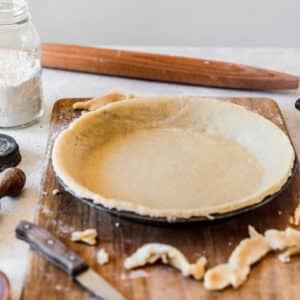
This homemade pie crust is absolutely ridiculous. It’s the flakiest, butteriest, most tender pie crust I’ve ever had! Not only does this recipe only have 5 ingredients, but it’s also easy, foolproof, and quick to make. Also, you can make it by hand or in a food processor if you’re short on time.
This post is essentially just a love letter to homemade pie crust. It didn’t always used to be this way. Trust me, I was on Team Store-Bought for quite some time. But then, I actually made homemade pie dough and I was like…
“Ok, why haven’t I been doing this the whole time?”
And that’s basically the whole story. Riveting. But true life, making your own pie dough is a real game-changer. Like, I won’t lie and say that I don’t use store-bought pie dough from time-to-time. But usually, it’s homemade or bust. If you’re going to take the time to make an amazing butterscotch apple or macadamia coconut cream filling, it is 1,000% worth it to take the extra time to whip up this dough!
Table of contents
- About the Best Pie Dough
- The Ingredient List
- How to Make this Recipe + a Video
– By Hand
– With a Food Processor - Make-Ahead, Storing, & Freezing
- Butter vs. Shortening
– Butter
-Shortening - Troubleshooting
– If the Dough is Tough
– The Dough is Too Warm
– It’s Cracking
– It’s Shrinking - Rolling the Dough
- Double Crust vs. Single Crust Pies
– Blind Bake
– Par Bake - No Soggy Bottoms
- Pie Weights + Alternatives
- Tips & Tricks
- Pies to Bake
This is the best pie crust ever
Let’s discuss why I’m so obsessed with this recipe. First off, I know that making homemade dough can be a bit overwhelming. Like, I feel you. But once you try it, you won’t go back. I can almost guarantee that it’s way easier than you think it is!
Especially with this recipe. Because I kid you not, it can be made in under 15 minutes, especially if you have a food processor on hand. But even if you don’t, it comes together quickly, and then you just pop it in the fridge to chill for a bit. Can you freeze it? You bet.
As far as taste, this dough is the perfect mix of buttery, salty, and caramelized. It shatters into a million flaky pieces when you sink a fork through the layers. It’s tender and toasty and only needs five ingredients. Listen. You need this crust for your holiday pies this year, k?
The ingredient list
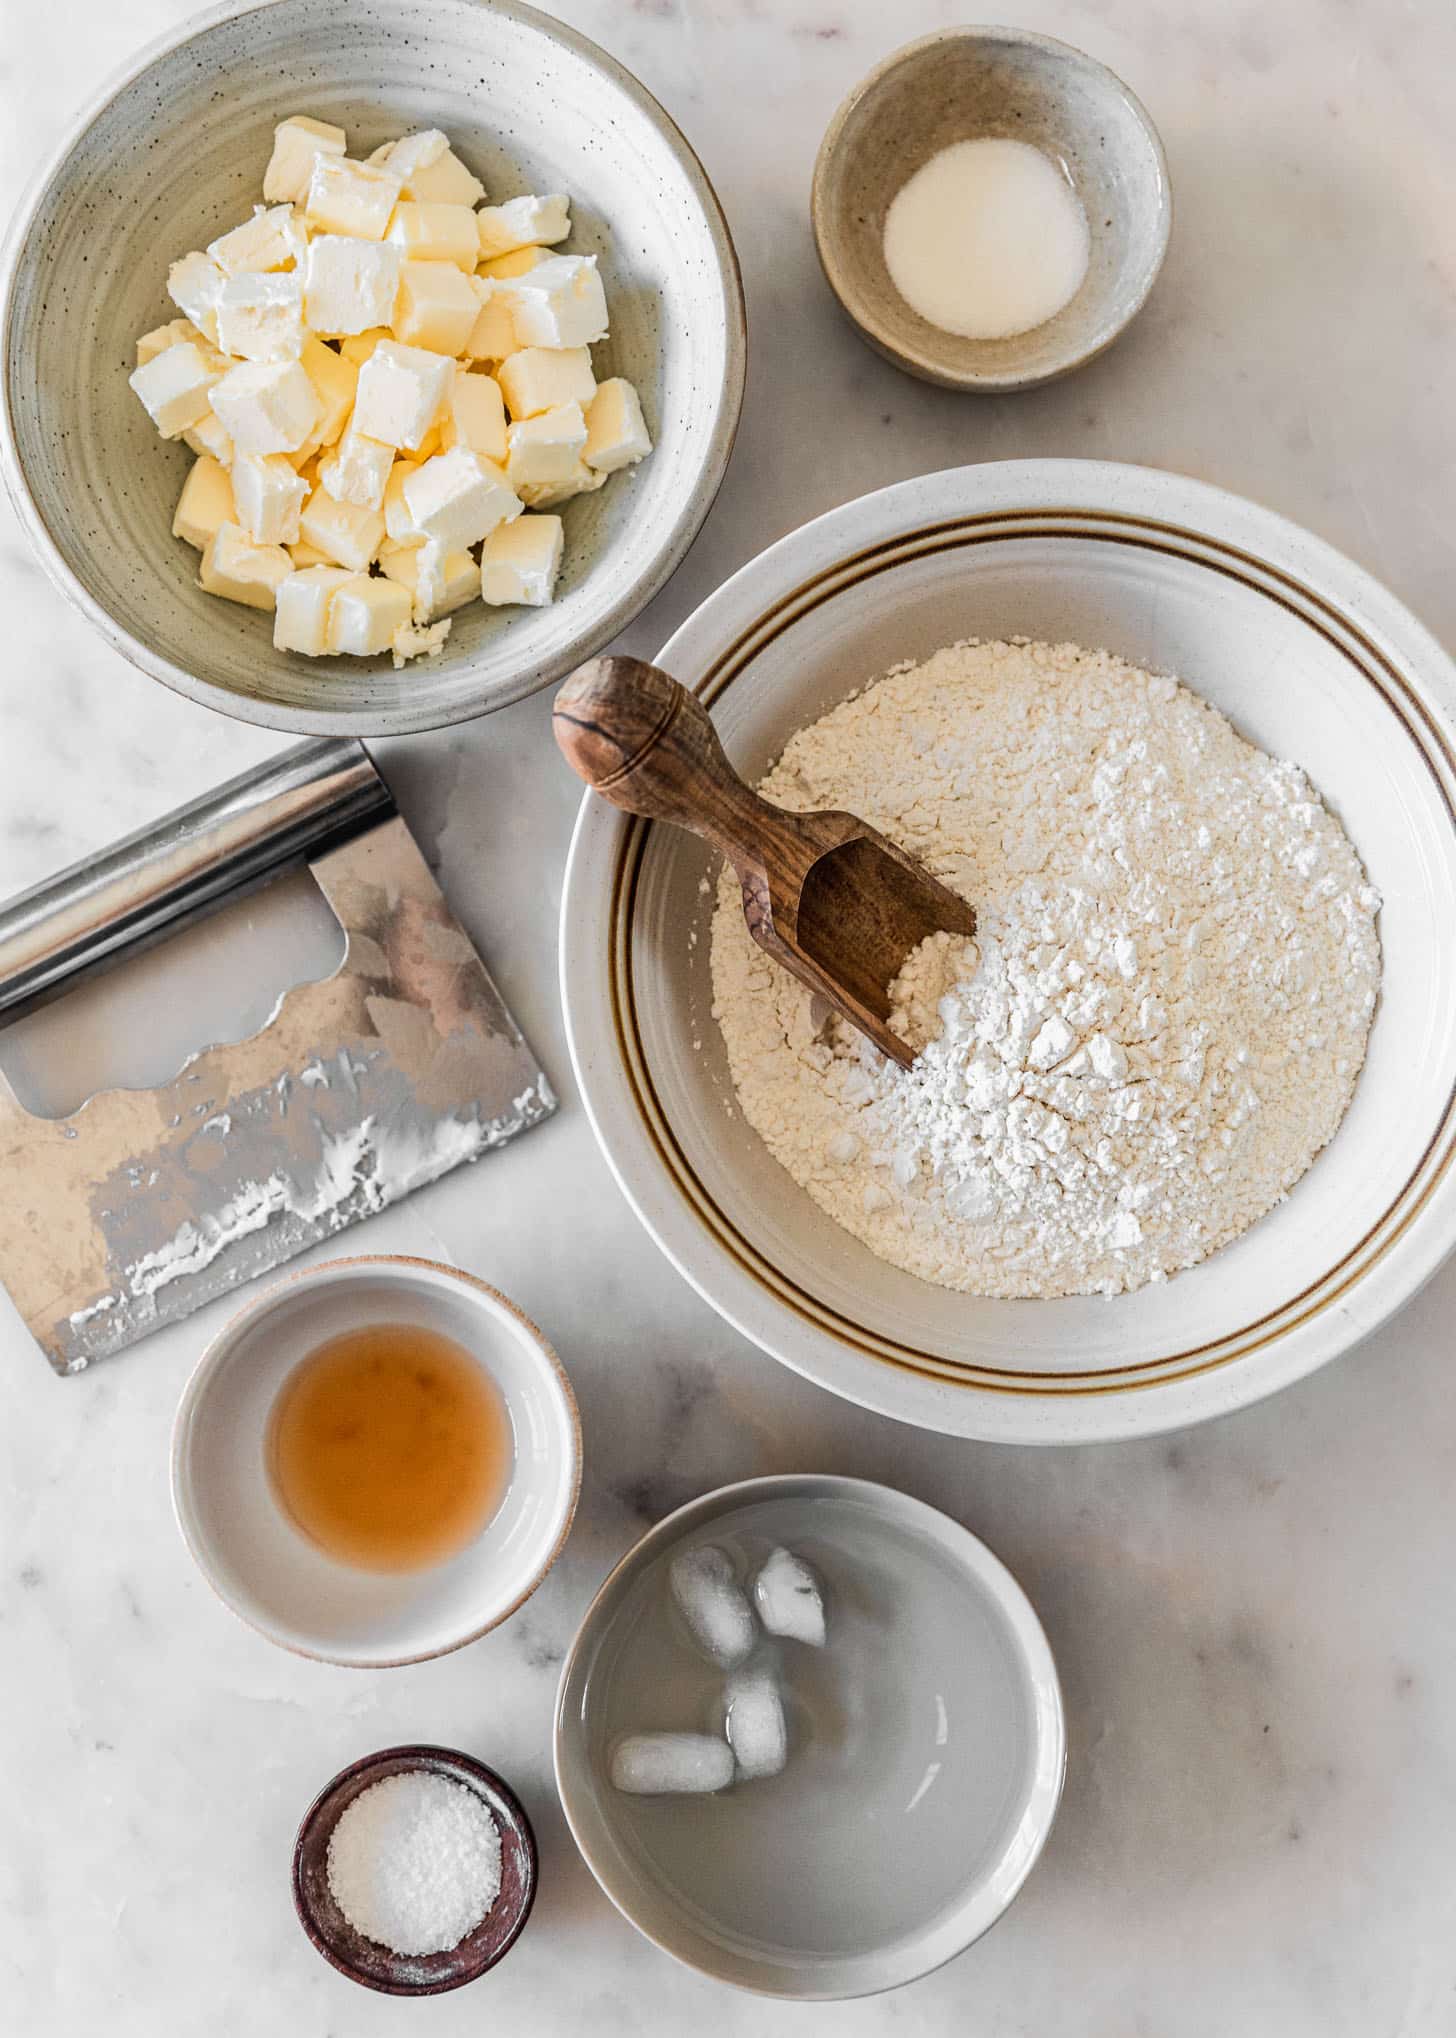
Remember the whole five ingredients thing? Well, it’s maybe one of my favorite parts of this recipe! There’s no “secret” ingredients that you have to track down. It’s just simple, straightforward, and everything can be found at your grocery store down the street. Here’s what you need!
- Flour – all-purpose all the way. Lower protein flour (like all-purpose) is going to give us that tender, flaky crust.
- Sugar – to add a little sweetness to the dough!
- Kosher salt – I love a little salty bite in pie dough. Morton Kosher salt is my go-to.
- Unsalted butter – and plenty of it. Since it’s the main flavor component in this dough, I highly recommend choosing a high-quality butter.
- Apple cider vinegar – just for a little. The ACV adds a nice flavor, keeps the dough from oxidizing and turning grey, and can keep you from overworking the dough.
How to make this recipe + a video!
When it comes to making the best pie crust from scratch, there are a couple of options. You can either make it by hand or in a food processor. I will admit that the food processor is easier, and might even keep the butter colder. But, usually I make it by hand because to be honest, I hate washing a food processor lol. Either way, this recipe is the easiest so you can’t go wrong.
Also, and I cannot stress this enough, the butter must stay as cold as possible! If it starts to melt, the crust will end up tough and will be a mess to roll out. Don’t worry, you’ll be fine. Just work quickly and confidently – you got this!
By Hand
- First, whisk together the flour, sugar, and salt. Toss the butter cubes in the flour to coat.
- Use your fingers to “rub” the butter into the flour until you have a mix of larger shaggy pieces and smaller pea-sized pieces.
- Combine the apple cider vinegar with a bit of ice water. Drizzle the mixture over the flour and use your hands to form a shaggy dough.
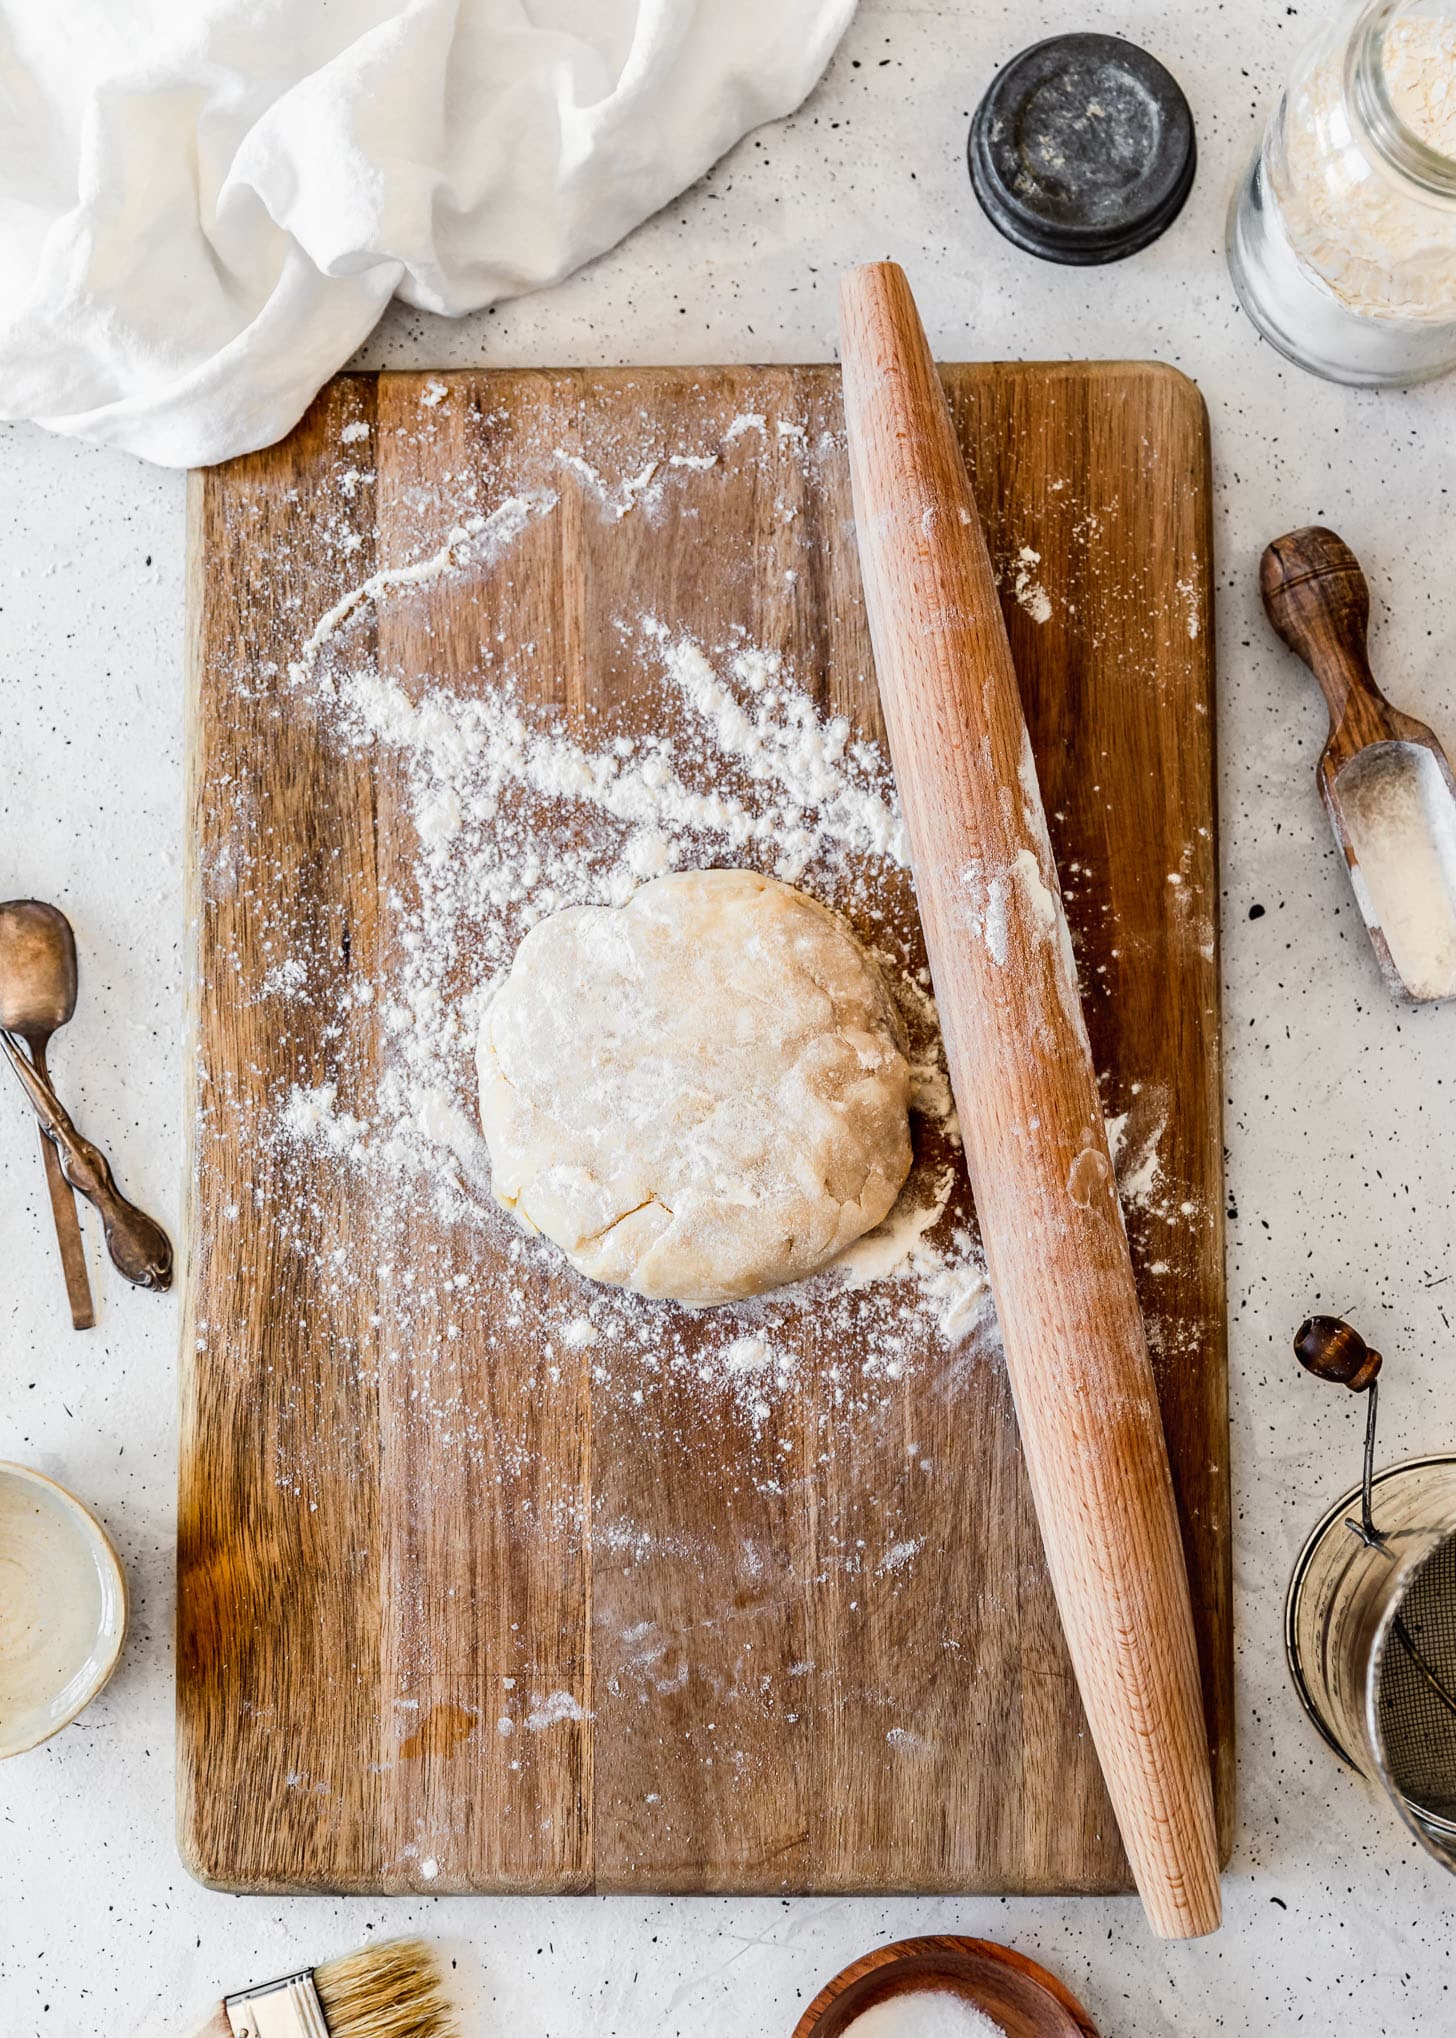
- Tip the dough on a floured surface and quickly knead until it comes together.
- Lastly, pat the dough into two discs. Wrap and refrigerate for at least one hour.
With a food processor
- Start by combining the flour, sugar, and salt in the bowl of a food processor. Toss in the butter cubes. Then, pulse the food processor until you have a mix of larger marble and smaller pea-sized chunks. Pour the mixture in a large bowl.
- Next, combine the apple cider vinegar with ice water. Drizzle over the flour-butter mixture and use your hands to form a shaggy dough.
- Tip the dough onto a floured surface and knead until it’s smooth.
- Then, pat the dough into two discs, wrap, and refrigerate for at least one hour.
Make-ahead, storing, & freezing
You can do it all! While keeping the dough cold can seem finicky, it’s actually quite resilient once you pop it in the fridge or freezer. This is such a great make-ahead recipe because it can hang out in the fridge or freezer for quite a while.
To store the dough, just wrap it well in plastic wrap or a zipper bag. Since I’m trying to avoid single-use plastics, I like to use reusable zipper bags which work great – just make sure to squeeze all the air out! Then, store it in the fridge for up to 2-3 days. Let it sit at room-temperature for 15 before rolling (just don’t let it warm up too much or the butter will melt).
To freeze the dough, wrap it well in a plastic wrap or re-usable zipper bag. Place it in an airtight container and freeze for up to 3 months. Defrost it slowly in the refrigerator overnight.
To freeze in a pie plate, roll out the dough and form it into a freezer-safe pie plate (now would be the time to crimp the edges if you’d like). Pop the whole thing in a freezer bag and store for up to 3 months. Defrost in the fridge overnight before using. Or, you can bake it from frozen – just add a few minutes of cooking time!
Butter vs. Shortening
There’s a lot of debate when it comes to butter or shortening. I personally prefer an all-butter pie crust flavor and texture-wise, but of course, shortening has its pros too. Let’s chat!
Butter
To me, butter is the crème de la crème of the pie dough world. It has the best flavor and mouthfeel by far. Since there’s a bit of water in the butter, it evaporates in the oven, puffing up the dough and creating those light, flaky layers.
On the other hand, it’s a little more finicky to work with, because the butter melts when it’s too warm and is hard with when it’s too cold. Also, all-butter dough doesn’t hold its shape as well so it’s a little harder to decorate with. But, I think it’s worth it for the flavor and texture!
Shortening
Shortening is made with hydrogenated fat rather than dairy, so it’s actually vegan! Also, since it has a higher melting point than butter, it’s really easy to roll out and work with. If you’re looking to make those gorgeous decorative pies that hold their shape, shortening is the way to go.
But, and this is a big but, the flavor is not there. It’s bland, there’s no flaky layers, and I find that shortening makes the pie dough kind of greasy.
Troubleshooting
Although I feel pretty confident that you’ll be able to make this pie dough perfectly, things happen! If your pie dough is less than ideal, there’s probably a reason. Here’s a quick guide that can help you determine what’s up. And, if something does go wrong, just add a scoop of ice cream to your pie and let it go. There’s always next time!
If the dough is tough
You likely overworked the dough. If you knead it too much, the flour will develop gluten which will make the dough tough and dense. Instead, work quickly and don’t over-knead to get those flaky layers.
Another common mistake is adding too much water. If the dough is too wet, those gluten strands will form and make the crust hard.
The dough is too warm
If the butter starts to melt, it will combine with the flour and make the dough a sticky mess. This not only makes it hard to roll out, but it also doesn’t create those air pockets in the dough. Instead of flaky layers, you’ll have a thin, tough crust.
If the dough starts to get too warm at any point, just pop it in the fridge for 10-15 minutes. And of course, always start with very cold ingredients!
It’s cracking
If the dough is cracking, it’s probably too cold or too dry. For dough that’s too cold, just let it warm on the counter for 10-15 minutes until it’s easier to roll out. If the dough is too dry, just knead a small drizzle of ice water into the dough until it’s smooth and easy to roll.
It’s shrinking
If the dough is shrinking, there are a lot of things that could be going wrong. You may have added too much water, overworked the dough, or it’s not cold enough. But usually, it’s just that the dough didn’t have enough time to rest. Letting the dough rest in the fridge relaxes the gluten strands and prevents shrinkage.
To prevent shrinking, make sure that the dough is very cold when you bake it. (Sometimes, I’ll pop the pie plate in the freezer for a few minutes to make sure). Then, prick holes in the dough with the tines of a fork to keep it from puffing up. If you’re baking a single crust pie, use pie weights (or dried beans) to keep the dough from sliding down and shrinking in the plate.
Rolling out the dough
Here’s my favorite way to roll out pie dough so that it’s even every time!
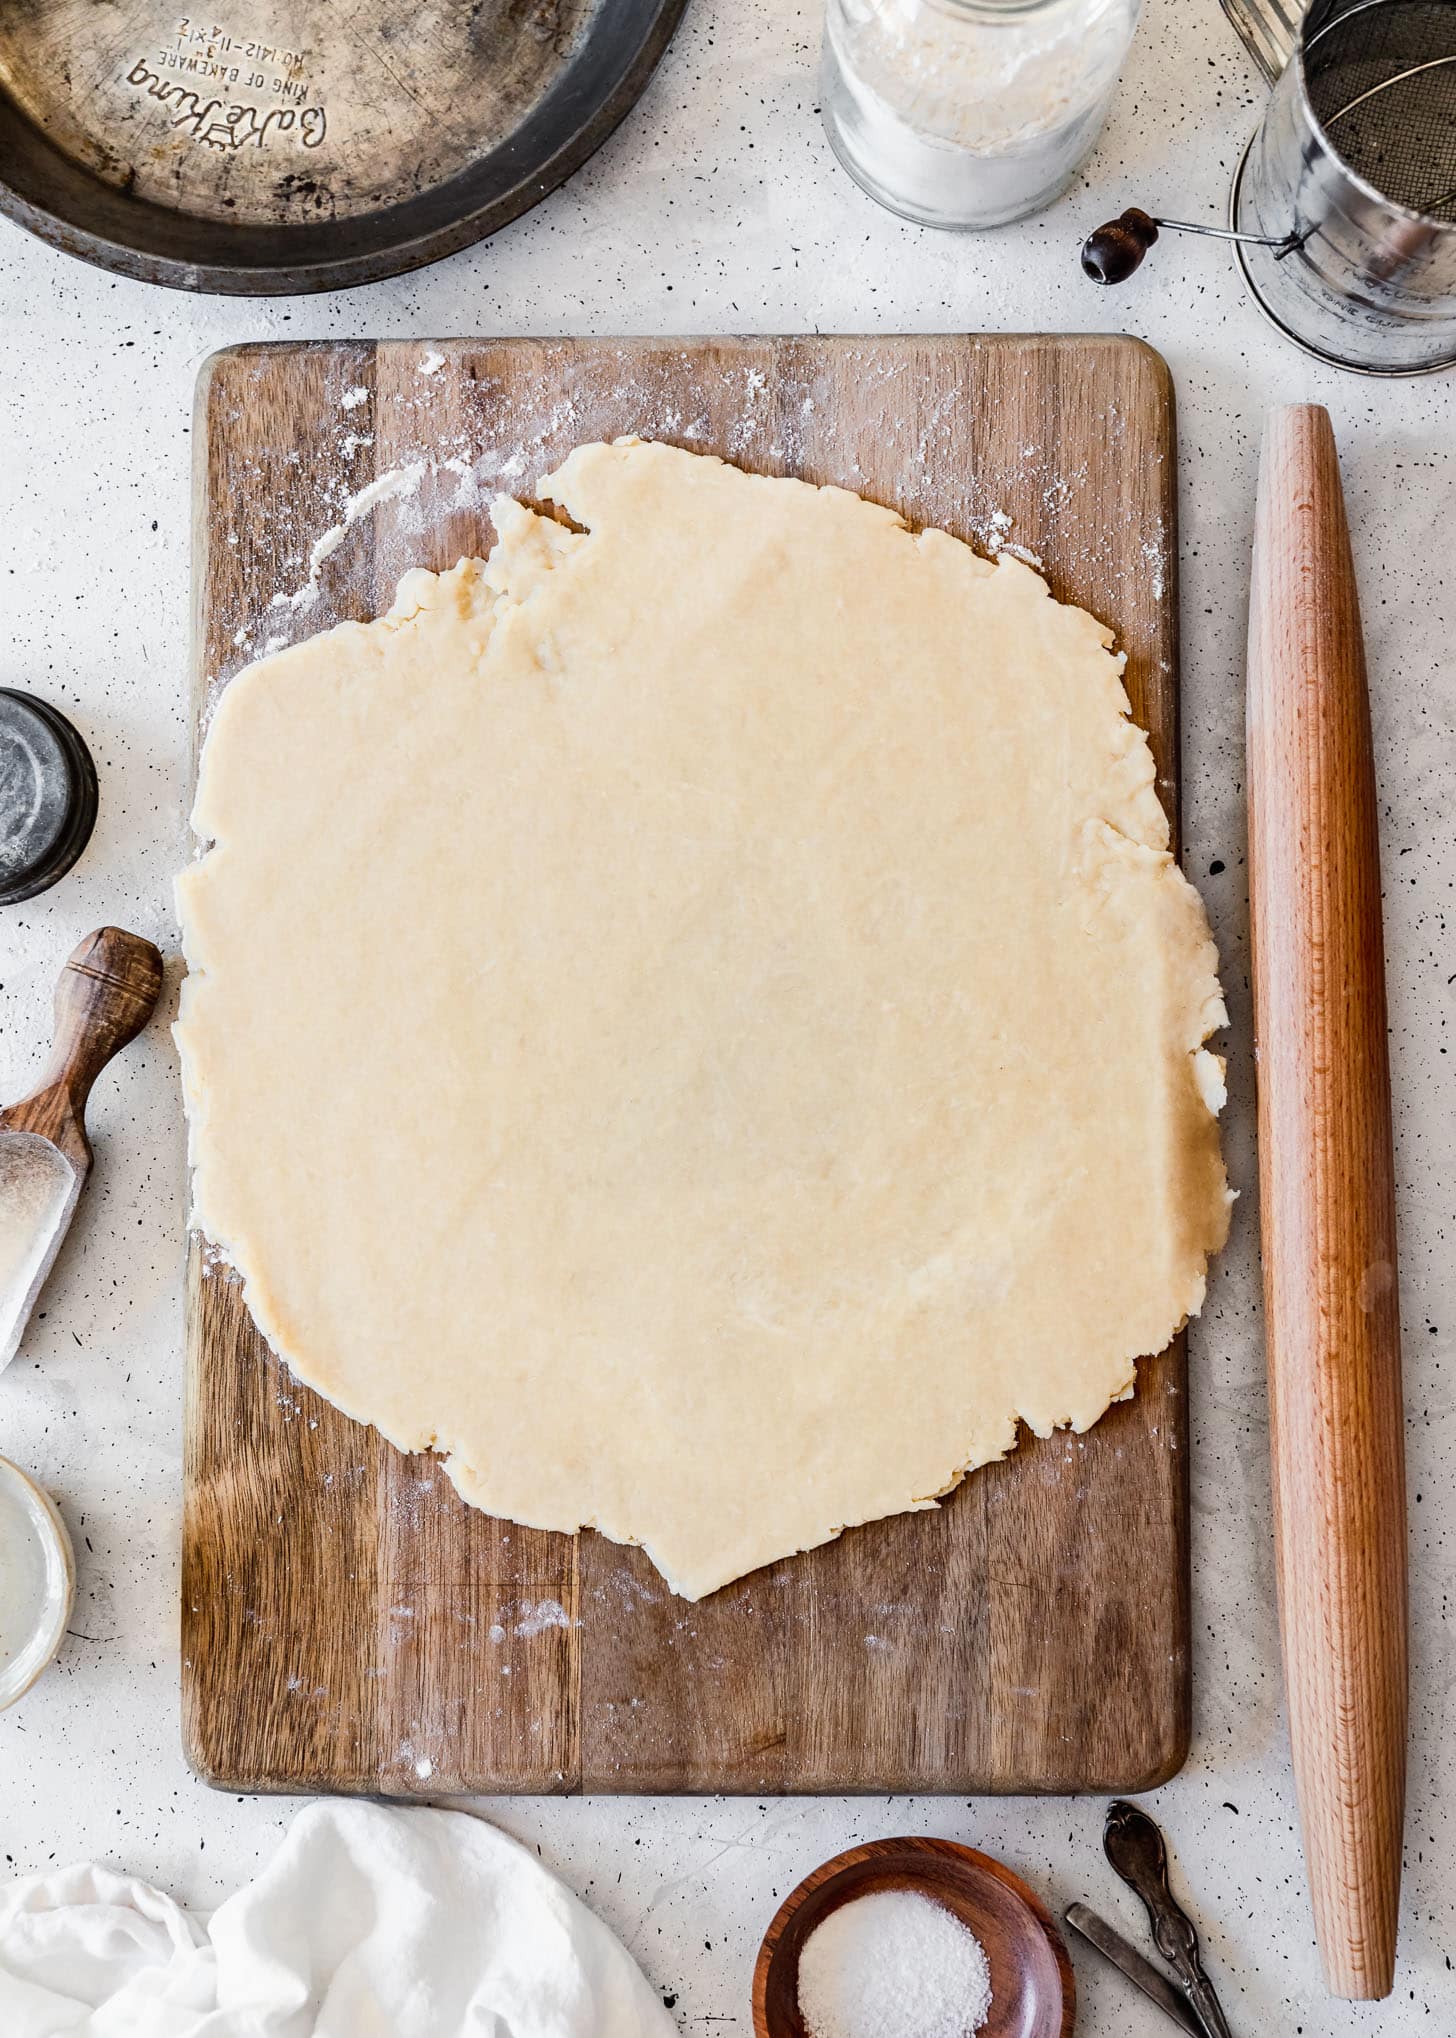
- Let it warm on the counter for 10-15 minutes (20 if your kitchen is very cold). If the dough is too cold, it will crack. If it’s too warm, it will stick to your surface and rolling pin.
- Start by rolling the dough outward from the center to the edge. Use gentle pressure to make sure it’s evenly thick on all sides. Add more flour to your surface or rolling pin, as-needed.
- Lift the dough and turn it 90 degrees. Again, roll it outward from the center. Continue rotating 90 degrees and rolling until you have a large, round of dough that’s about 1/8” thick.
Double crust vs. single crust pies
A double-crust pie is any pie that has a bottom crust and a crust over the filling. Think apple, cherry, peach, basically most fruit pies. Single-crust pies, on the other hand, are any pie that only has the bottom crust. This could be something like pecan pie, Dutch apple pie, or pumpkin pie where the filling is baked in a single crust. There are also filled pies like chocolate cream, lemon meringue, or coconut cream where the crust is baked before the filling is added.
Blind bake
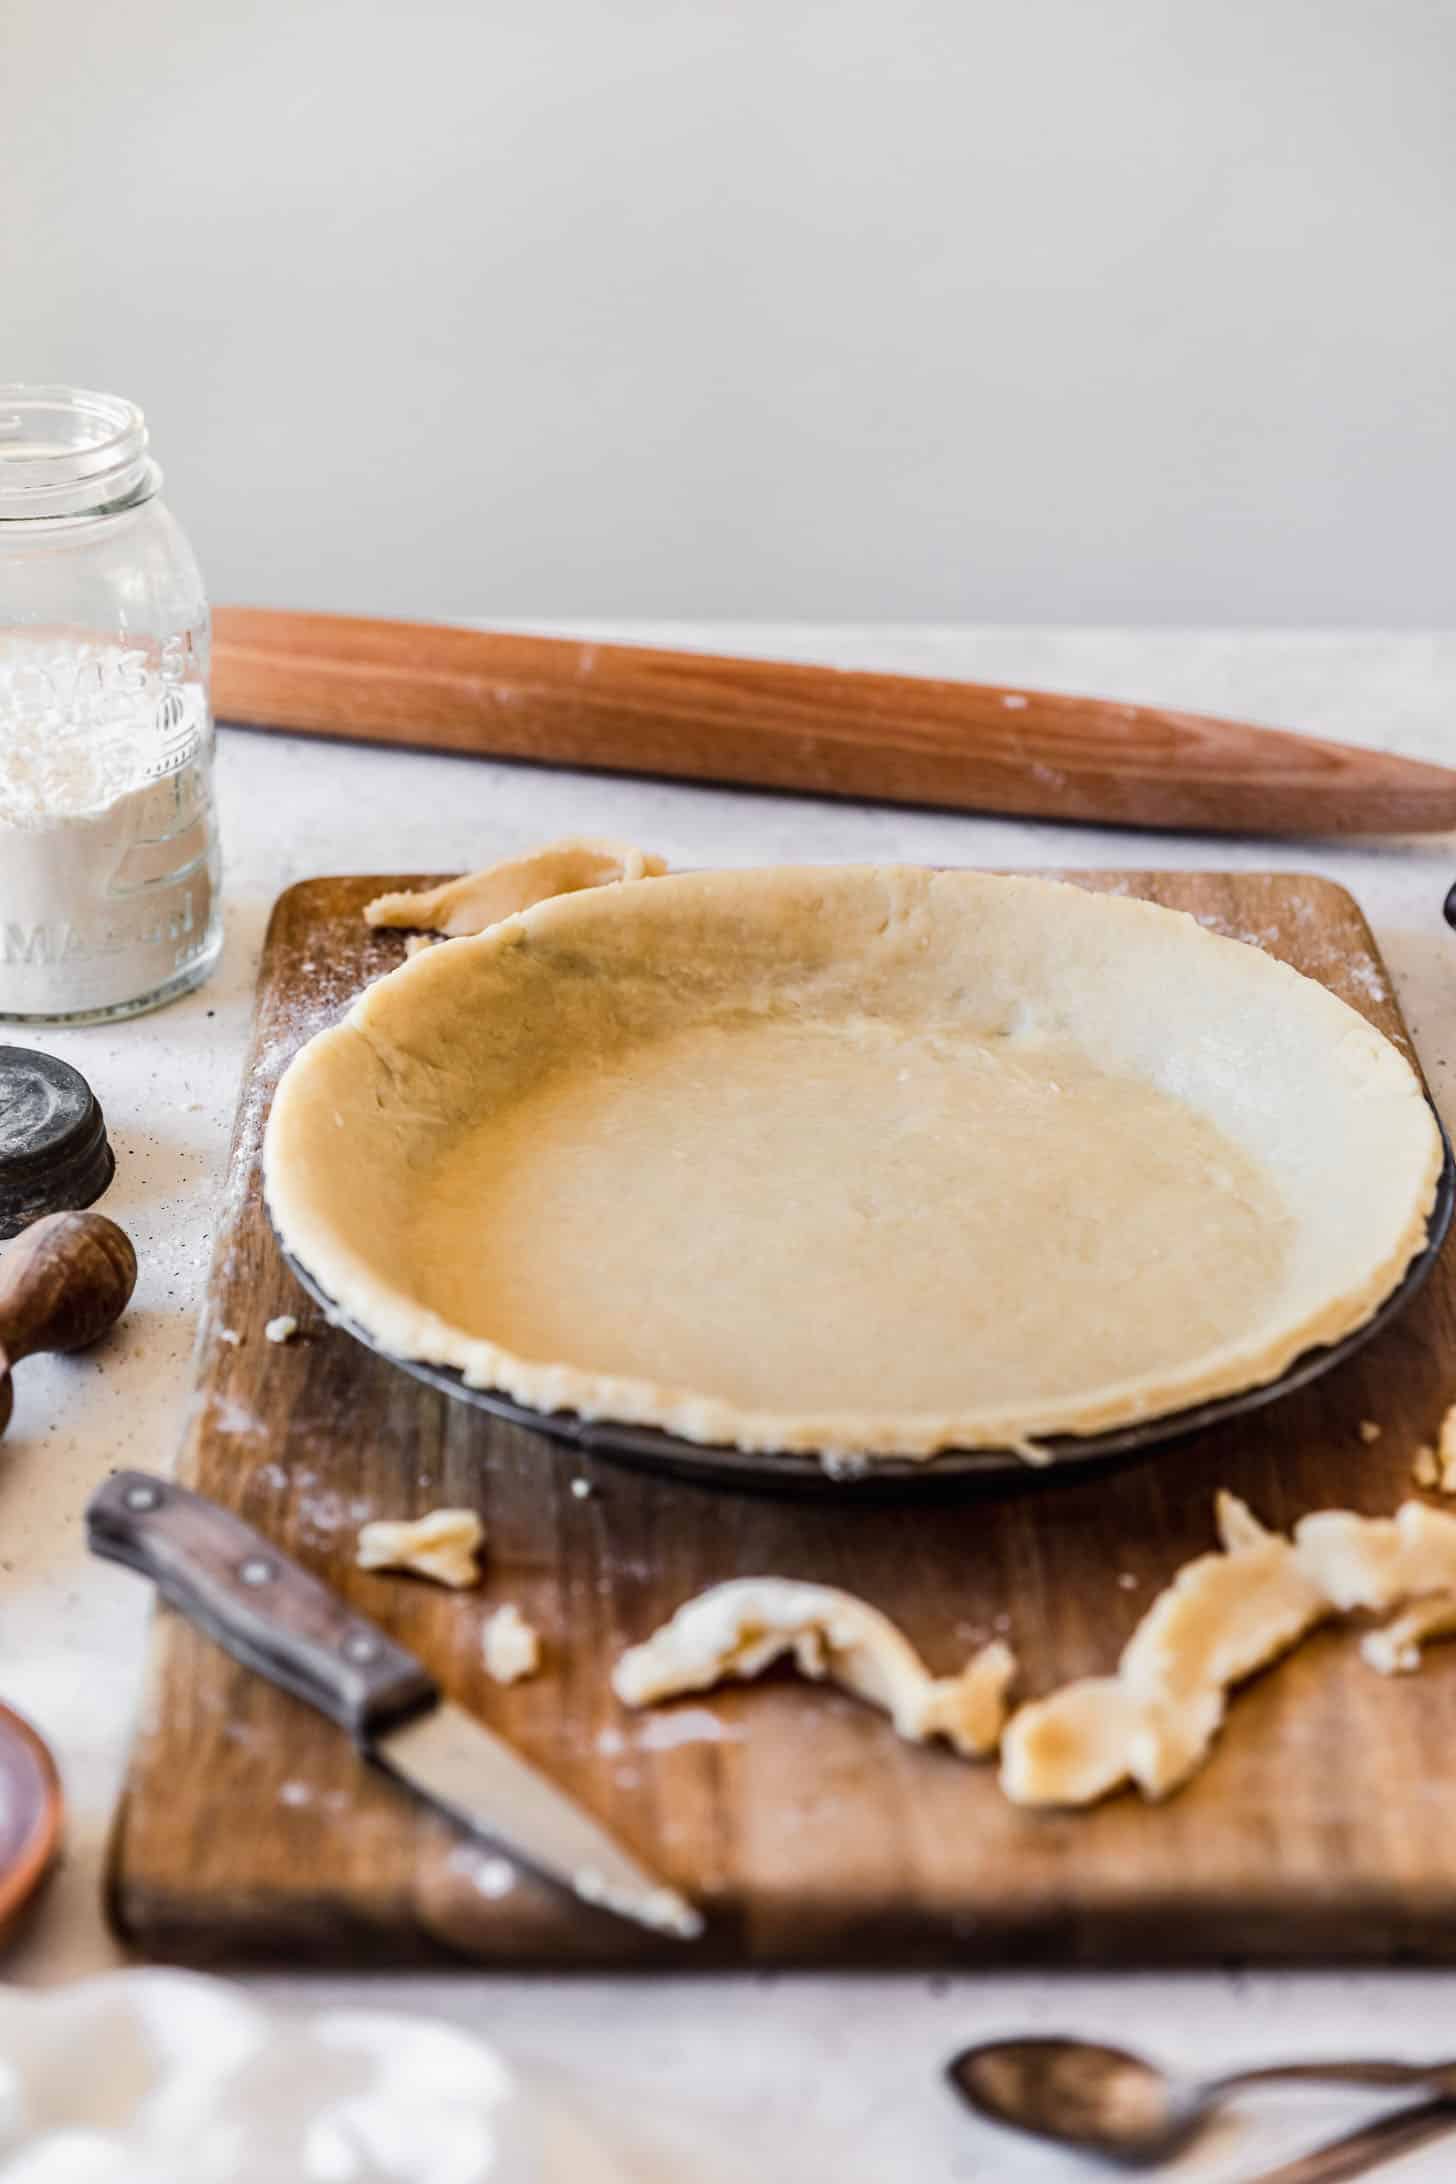
In the case of filled pies, you will need to blind bake the crust. To blind bake it, you will line the pie unbaked pie crust with parchment and fill with pie weights to keep the dough from shrinking and puffing up. Then, you’ll bake the crust at 400°F for 17-20 minutes until the edges are golden brown. Carefully remove the parchment paper with the pie weights, and prick the dough all over with the tines of a fork. Bake another 15-20 minutes until the crust is golden brown.
Par bake
For single-crust pies that are baked with the filling, I like to par bake the crust. Par baking is essentially just partially baking the crust to so that the bottom is crispy, not soggy. To par bake the pie, I just line the pie crust with parchment, fill with pie weights, and bake at 400°F for 15-16 minutes, until the edges are starting to brown. Then, I remove the weights, prick the dough all over with the tines of a fork, and then bake another 6-8 minutes until the bottom is starting to brown. Add the filling and bake according to recipe instructions!
No soggy bottoms
When people say they don’t like pie, I’m 100% sure it’s because every pie they’ve eaten has had a soggy bottom. Soggy bottoms are the worst. Luckily, I’ve done extensive research to remedy this problem and we’re going to talk about it! Here are all of my favorite tips to get a crisp, flaky bottom.
- Brush the pie dough with egg wash before baking. This creates a barrier between the filling and the dough so any liquid from the filling doesn’t soak through.
- Don’t pour in extra juices. If you’re using a fruit filling, you’ll probably have some extra juices at the bottom of the bowl. Don’t add those juices or they’ll make the bottom crust soggy.
- Bake in the lower part of your oven. I like to bake pies in the bottom 1/3 of my oven. The heat from the bottom will cook the bottom of the crust while keeping the top from burning!
- Bake on a hot sheet pan. I usually bake pies on a hot pizza stone or sheet pan, because it melts the butter in the dough and quickly cooks the bottom of the crust.
- Don’t be afraid of golden brown crust. Undercooked pies are the biggest pie-baking mistake. Let it cook until the crust is deeply golden brown. Tent the pie with foil if it’s getting too brown!
- Eat the pie the day you make it. Pie is still good after a day or two but it’s best day-of. After some time, the filling starts to seep into the crust!
Pie weights + alternatives
Pie weights are little ceramic or metal marble-sized balls that bakers use to temporarily fill pies during a blind bake or par bake. They weigh down the crust so it doesn’t shrink or puff up during baking. I definitely recommend having some on hand if you’re going to bake pies!
You can either buy pie weights or use a cheaper alternative. If you don’t want to buy pie weights, you can also use dried beans or rice. Dried pinto beans are my usual go-to. Bonus: you can save them and re-use them for every recipe! Just make sure to label the beans so you don’t accidentally use them in a recipe haha.
Tips & tricks
- You must use very cold ingredients! Otherwise, your dough will be sticky and hard to roll and your crust will be dense and cracker-like. Make sure your butter and water are as cold as possible.
- Don’t add too much water to the dough or it will come out tough. If the dough feels dry, knead it a few more times and see if it comes together. If it really isn’t working, add ice water 1/2 Tablespoon at a time, just until it forms together.
- Avoid over-mixing the dough or it will come out dense. Knead the dough just until it’s smooth!
- Brush the crust with egg wash for shine! If you’re making a single-crust pie, you can just brush the edges and bottom with egg wash. If you’re baking a double-crust pie, brush the edges and top.
- This recipe makes two nine-inch crusts. This is either one double-crust pie or two single-crust pies. If you’re making a single-crust pie, you can freeze the other round of dough for later.
- Cool the pie before baking so it doesn’t shrink! About 15 minutes in the freezer or 20-30 in the fridge is perfect.
Let’s bake some pies
Now that you’ve made the best pie crust, it’s time to bake up a pie or galette! This pie can be used for sweet pies with fruit or cream fillings. Or, you can bake savory pies like chicken pot pie or quiche. Here are some of my faves!
Brown Butter Strawberry Crumble Pie
Caramel Apple Pie with Brown Butter Crust
Blueberry Galette with Hazelnut Frangipane
Chocolate Cream Pie with Bourbon Butterscotch
Nectarine Galette with Mascarpone Filling
If you make this recipe, I would love it if you left a star rating and review! I read every single comment and love hearing what you think about my recipes. Thank you for supporting Sunday Table!
The Best Damn Pie Crust of Your Life
Ingredients
- 2 1/4 cups all-purpose flour (270 grams)
- 2 Tablespoons sugar (26 grams)
- 1 teaspoon Kosher salt (5 grams)
- 1 cup unsalted butter, very cold + cut into cubes (226 grams)
- 1 Tablespoon apple cider vinegar (15 millileters)
- 3 Tablespoons ice water (45 millileters)
Equipment
- Food processor (optional)
Instructions
- By hand: In a large bowl, whisk together the all-purpose flour, sugar, and Kosher salt. Toss the butter cubes in the flour to coat. Using your fingers, "rub" the butter into the flour until you have a mix of long, shaggy pieces and pea-sized chunks. Work quickly to avoid melting the butter.
- In a food processor: Combine the all-purpose flour, sugar, and Kosher salt in the bowl of a food processor. Pulse a couple of times to combine. Add the butter cubes to the flour and toss to coat with a fork. Pulse the mixture about 8-12 times, just until the butter is pea-sized. Pour the mixture into a large bowl.
- Combine the apple cider vinegar and ice water in a small measuring cup. Slowly drizzle the vinegar-water over the flour mixture, running your fingers through the flour to make sure everything is incorporated. Knead everything together just until you have a dry, shaggy dough.
- Tip the dough onto a floured surface and knead a few more times, just until the dough is smooth and there are no more dry spots. Divide the dough into 2 equal pieces. Pat each piece into a 1-inch thick disc and wrap in plastic wrap or a reusable zipper bag.
- Refrigerate the dough for at least two hours, preferably overnight. The dough can be refrigerated for up to 5 days or frozen for up to 2 months.
Notes
I hope this recipe makes the pie dough of your dreams as it did mine ♥
XO Sara Lynn
*Song of the Day: Where is my Mind? by Pixies


Pingback: Homemade Apple Cider – Serendipity by Sara Lynn
Pingback: Croque Madame Galettes with Everything Crust – Serendipity by Sara Lynn
Pingback: Coconut Cream Pie with Macadamia Nut Caramel • Serendipity by Sara Lynn
Pingback: Apple Galette with Butterscotch Sauce • Serendipity by Sara Lynn
Pingback: Homemade Apple Cider • Serendipity by Sara Lynn
Pingback: Slow Cooked Carnitas • Serendipity by Sara Lynn
Loved how easy this was to make…used it to make apple hand pies and the dough baked up flaky and flavorful!
So glad it worked out, Elisabeth! Thanks for sharing!
Pingback: Blueberry Galette with Hazelnut Frangipane • Serendipity by Sara Lynn
Pingback: Chocolate Cream Pie + Bourbon Butterscotch • Serendipity by Sara Lynn
Pingback: Nectarine Galette with Mascarpone Filling • Serendipity by Sara Lynn
Pingback: Croque Madame Galettes with Everything Crust • Serendipity by Sara Lynn
Pingback: Strawberry Balsamic Hand Pies + Honey Glaze • Serendipity by Sara Lynn
Always looking for a great pie crust that’s not too complicated. I tried
this yesterday and it came out amazing. Hope I can duplicate it in the future.
Thank you, Roger! This is my favorite, so glad you liked it. 🙂